Gate valves are a simple valve that, unlike most other types of valves, do not depend on rubber gaskets to make a seal. Instead, they use guides and a "gate" made of metal to stop and start flow. The multi-turn handle makes operation simple and smooth. Every so often, however, it may help to know how to rebuild a gate valve.
Problems with gate valves are not common, but the one seen most often is when something gets lodged in the guides on the sides or bottom of the valve's body+. This can happen when a gate valve is left open for extended periods. Blocked gate pathways can lead to the valve being unable to fully close.
But do not fear, a small blockage does not mean the valve is ruined. Gate valves are easy to take apart and clean if their path is obstructed. Rebuilding a gate valve is also simple. We'll explain how to rebuild a gate valve after first discussing cleaning and disassembly.
How to Disassemble
Gate valves are typically screwed to a wall or between two pieces of piping. Before removing it, you can attempt to unclog the valve using just the water in the system. Turn the water source on as high as possible, then slowly open and close the valve as fully as it will let you. This could loosen some debris and allow you to close the gate valve fully.

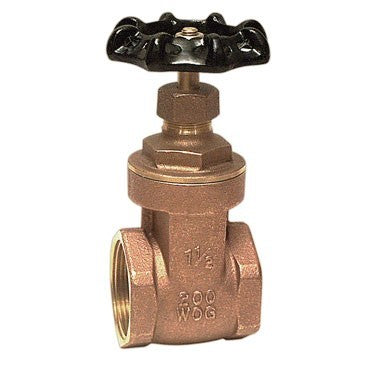
If this doesn't do the trick, you should turn off the water source and remove the valve from the pipeline. This is typically done by unscrewing the ends. Once the valve is disconnected, use pliers to loosen the gate valve's bonnet, as shown in the picture. Do not loosen the packing nut, as it is what holds the components together that keep fluid from leaking up the stem.
When you have unscrewed the bonnet, you will be able to remove the top of the gate valve, with the handle and seating, from the body. This will allow you to clean your valve from the top, using a toothbrush or other cleaning tool.
How to Rebuild
Congratulations! Your gate valve is clean and clear! Now all that's left is to put it together. This is a simple process if you have only disconnected the bonnet. Slide the gate back into the proper position in the valve's body then screw the gate valve bonnet until secure. Test the valve by turning the handle. Ensure that the gate opens and closes fully. Once you are sure it is working properly, put it back into its place in the pipeline, using fresh pipe dope or sealant tape.

A malfunctioning gate valve is not difficult to repair, but it is even easier to prevent. These problems are typically caused by mineral buildup, so you should fully close and open your gate valves every few months to clear potential problems. If your gate valve has severe pitting or corrosion, you will need to replace it. Luckily, we supply gate valves at the best prices anywhere. Check out the links below and fill out our handy quote request form for prices!
Read this helpful article by SFGATE for more information on gate valves!